Protecting Azure NetApp Files volumes across Availability Zones
Introduction
Recently, Microsoft announced an exciting new feature for Azure NetApp Files (ANF) – Availability Zone Volume Placement (AZVP). This new features now allows customers to deploy volumes into Azure Availability Zones (AZs) of their choice.
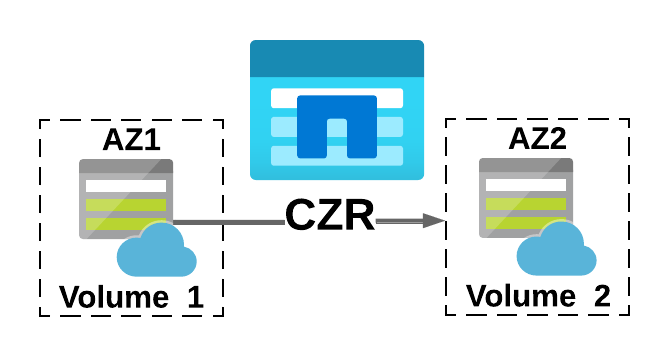
Hot on the heals of AZVP comes Cross Zone Replication (CZR). Similar to Cross Region Replication (CRR), CZR is an in-box capability that allows customers to replicate ANF volumes across Azure Availability Zones (AZ). This new feature brings the ability to safeguard against zonal failures. Within most Azure regions there are AZs, it is important to point out that not all regions support AZs. You can read more about AZs and regional availability here.
As of writing, this feature, CZR, is in Public Preview, customers can use it to test functionality prior to it going Generally Available.
Things to consider
Before you run off to create your volumes and setup CZR, there are a few items to consider. I have listed these below.
- CZR uses the AZVP feature of Azure NetApp Files
- The AZVP feature needs to be registered within your subscription
- During the preview phase, CZR can only be used in regions where available. More details here.
- When implementing CZR, the source volume needs to be created in an AZ
- CRR and CZR cannot be used on the same volume
- Like CRR, CZR replication is asynchronous
- SMB volumes require access to Active Directory Domain Services (ADDS) and Domain Name Servers (DNS) for both source and destination volumes
- All replicas must reside in the same subscription
Resource provider feature registration
In order to use CZR you will need to registered the resource provider feature. Please note that the resource provider feature for AZVP also needs to be registered, details os that can be found here. You can register the provider using Azure PowerShell or the Azure Cloud Shell. Once enabled, the feature will be available within your subscription.
1. Register the feature using the following command. This can take up to one hour to complete.
Register-AzProviderFeature -ProviderNamespace Microsoft.NetApp -FeatureName ANFCrossZoneReplication2. To check the status of the feature registration run the following command.
Get-AzProviderFeature -ProviderNamespace Microsoft.NetApp -FeatureName ANFCrossZoneReplicationOnce the feature shows as Registered, you are good to go.
Creating the source volume
Now that you’ve got everything in place and the resource provider feature has been registered, you can start to configure your source volume.
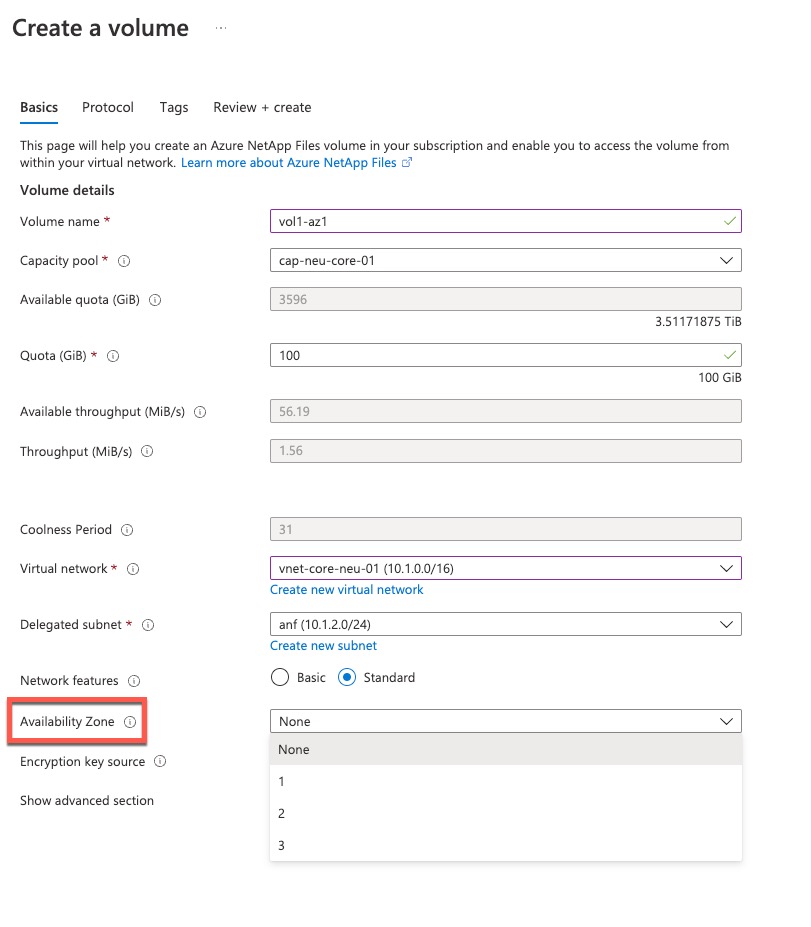
1. In the Azure portal, browse to your ANF account, select volumes and click Add Volume. On the Basics page, complete all the require fields and select the AZ where you wish to place your volume.
2. Complete the remainder of the volume creation process as normal. More details on volume creation for the various protocol options can be found here NFS, SMB, Dual-protocol.
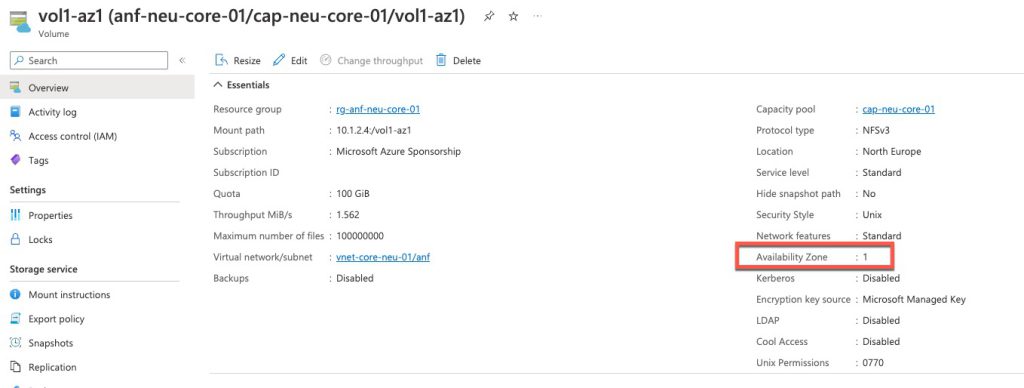
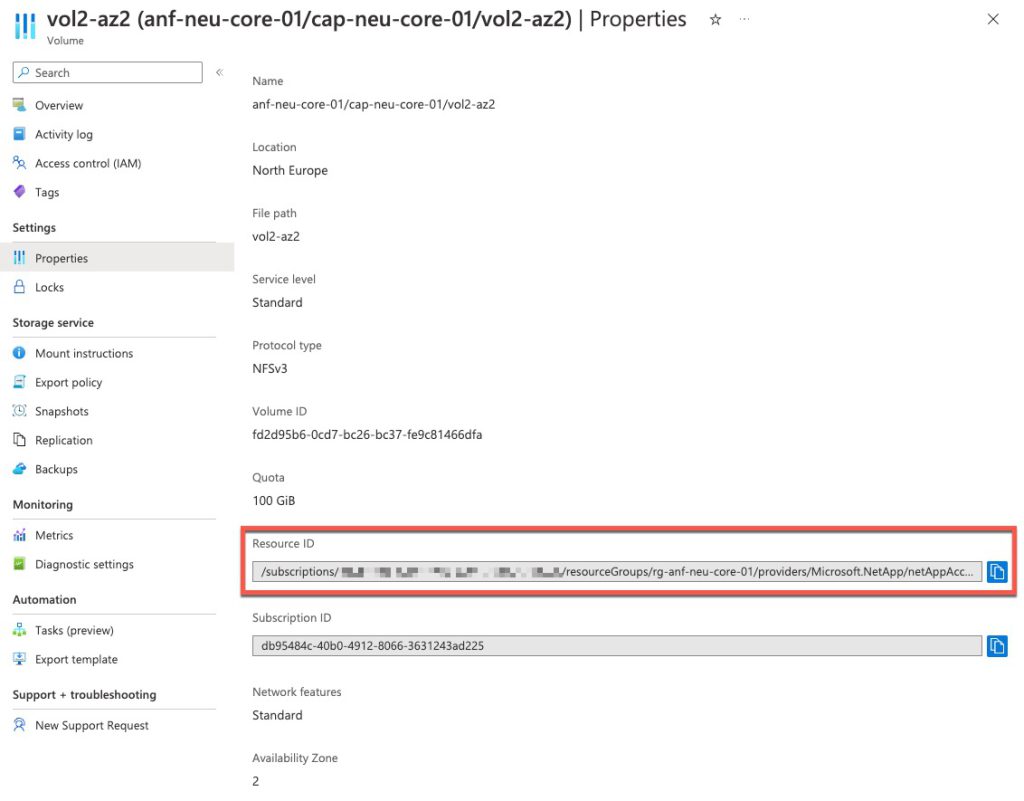
3. Once your volume has been created, on the Overview page, you will see the availability zone listed in the information.
Create destination volume (replica)
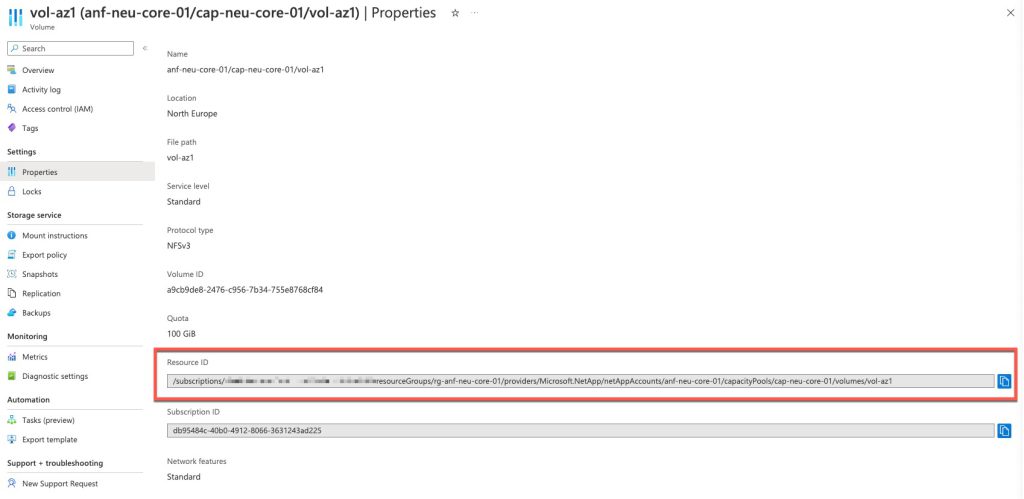
1. Browse to you source volume and select Properties. Locate the Resource ID and copy it.
2. Create the destination volume (replica) by browsing to your volumes and selecting Add data replication. Make sure its in the same region but this time you will select a different zone.

3. Select the Protocol for your volume. On the Replication page, paste the Resource ID of the source volume and select the Replication schedule. This can be either 10 minutes, 1 hour or 1 day. Complete the remainder of the volume creation process as normal.

Authorise the destination volume (replica)
1. Browse to you destination volume and select Properties. Locate the Resource ID and copy it.
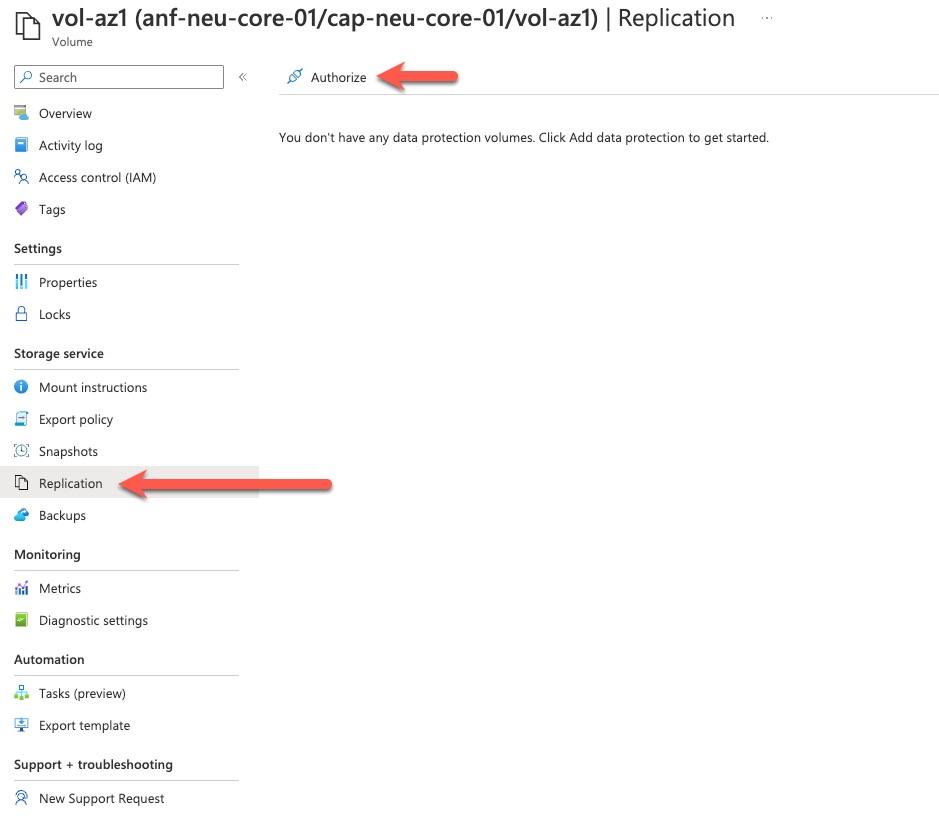
2. Browse to your Source volume, select Replication and click Authorise
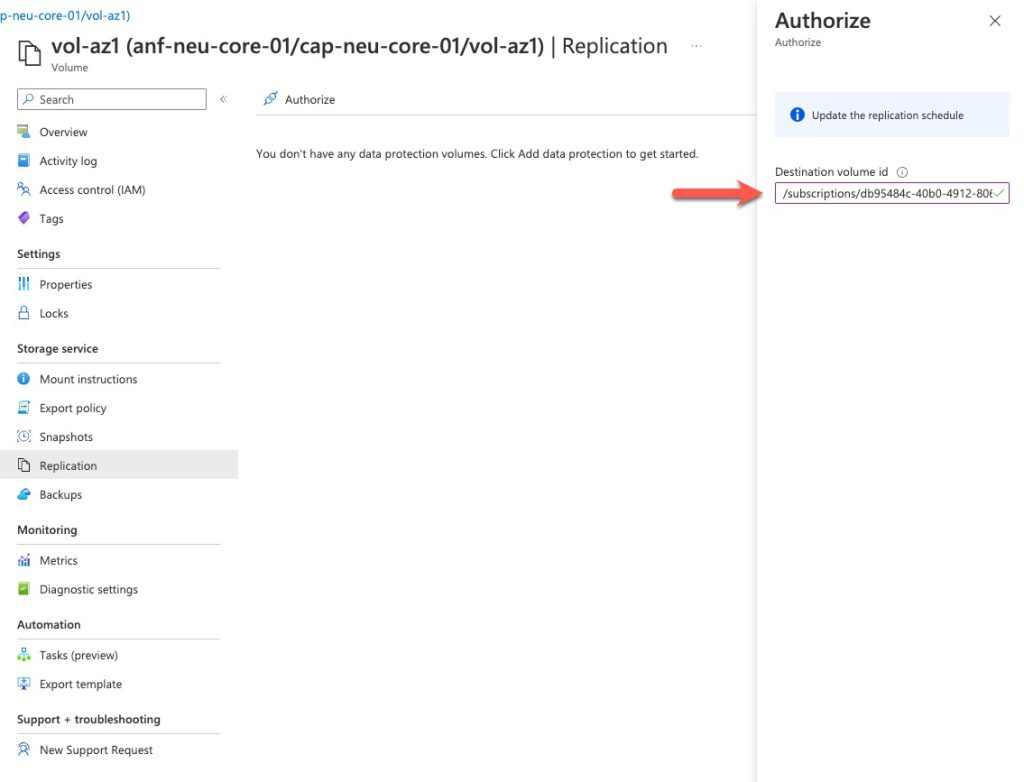
3. Paste the Destination volume Resource ID into the field and click OK.
4. Your Destination volume has now been Authorised on the Source volume.
Check volume replication status
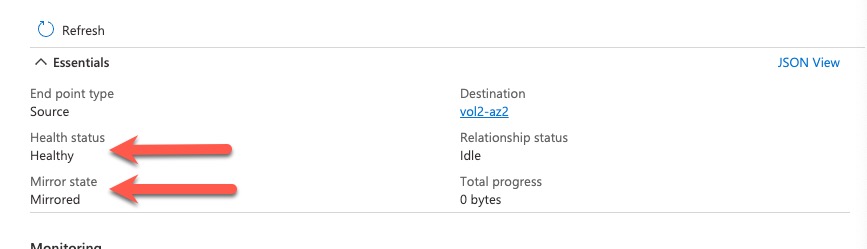
Browse to your Source volume and select Replication.
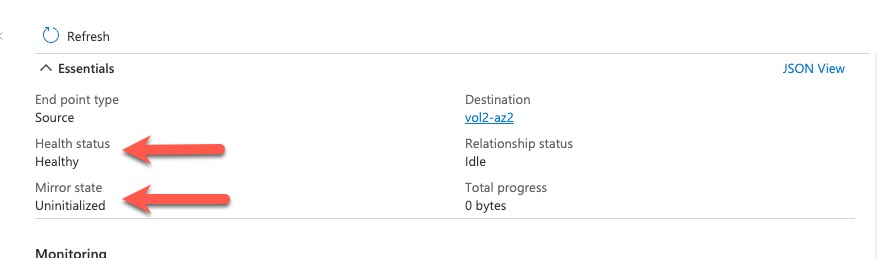
Once you have authorised your volume for replication, the status will show as, Healthy – Uninitialised.
Once the volume has finished its initial sync. the volume status will show as, Healthy – Mirrored. It is important to note that larger volumes might take some time to finish their initial synchronisation task.
Summary
I hope this short blog post about configuring Azure NetApp Files Cross Zone Replication has been useful? The Cross Zone Replication feature brings the capability to protect across zones within the same region. This is an extremely important feature addition to ANF, it now makes it possible to meet the best practice guidelines around Microsoft’s well-architected framework. Customers have the ability to build highly available solutions by leveraging the replication technology within ANF, both CZR and AZVP. The Microsoft ANF service is now over 3 years old, it has seen constant development during that time with regular product enhancements. Expect more cool features to be added to the ANF solution in the coming months.